Before you begin the process of pressing new bearings into a sealed tub, it’s crucial to establish a clean and organized workspace. This minimizes the risk of contamination, ensures you have the right tools readily accessible, and promotes a safer working environment.
Clearing the Area
- Designate a Dedicated Space: Choose a stable, flat surface that is well-lit. A workbench is ideal, but a sturdy table will suffice. Ensure there’s enough room to lay out all your components and tools without feeling cramped.
- Minimize Dust and Debris: Sweep or vacuum the area thoroughly. Pay attention to nooks and crannies where dust can accumulate. Consider covering the work surface with a clean drop cloth or a large sheet of paper to provide an additional barrier against contamination.
- Ventilation: Ensure adequate ventilation, especially if you’ll be using any lubricants or cleaning agents. This is important for both your health and to prevent the build-up of fumes.
Tool and Material Assembly
- Gather All Necessary Tools: Before you start, lay out every tool you anticipate needing. This prevents you from having to search for items mid-process, which can lead to mistakes or contamination. A comprehensive list is provided in a later section, but a quick visual check and layout now is beneficial.
- Organize Small Parts: Bearings, seals, and any other small components can easily be misplaced. Consider using small containers, magnetic trays, or even an egg carton to keep them sorted and prevent them from rolling away.
- Cleanliness of Tools: Ensure all your tools are clean and free from grease, oil, or dirt. Wipe them down with a clean cloth. Contaminated tools can introduce unwanted particles into the bearing or tub.
Safety Precautions
- Personal Protective Equipment (PPE): Always wear safety glasses to protect your eyes from flying debris. If you’re working with lubricants or cleaning agents, consider wearing gloves to protect your skin and maintain a clean grip.
- Stable Work Surface: Confirm that your workbench or table is stable and won’t shift during the pressing operation. A wobbly surface increases the risk of accidents.
- Proper Lifting Techniques: If the sealed tub is heavy, be mindful of proper lifting techniques to avoid back strain.
If you’re looking to learn how to press new bearings into a sealed tub, you might find it helpful to read a related article that provides detailed instructions and tips. For a comprehensive guide on this topic, check out this informative piece at Hey Did You Know This. This resource offers valuable insights that can assist you in successfully completing your bearing replacement project.
Component Inspection and Preparation
Thoroughly inspecting and preparing your components is a critical step before attempting to press new bearings. This ensures compatibility, identifies potential issues, and sets the stage for a successful installation.
Inspecting the Sealed Tub
- Examine the Housing: Carefully inspect the bearing housing within the sealed tub for any signs of damage, corrosion, or wear. Look for pitting, scoring, or deformation. Any imperfections in the housing can compromise the fit and lifespan of the new bearings.
- Check for Obstructions: Ensure the bearing seat is completely clean of old grease, dirt, or any foreign material. Use a clean rag and a non-abrasive solvent if necessary. A small, non-metallic pick might be useful for dislodging stubborn debris, but be cautious not to scratch the metal.
- Verify Dimensions: If possible and you are unsure of the original specifications, measure the inner diameter of the bearing housing. Compare this measurement to the outer diameter of the new bearings to confirm a suitable press fit. A slight interference fit is expected, but a hole that is too large or too small will cause problems.
Inspecting the New Bearings
- Visual Check for Damage: Examine the new bearings for any signs of damage that may have occurred during shipping or handling. Look for dents, nicks, or cracks on the races or rolling elements. Gently rotate the inner and outer races to feel for any roughness or grinding.
- Confirm Bearing Type and Size: Double-check that you have the correct type and size of bearing for the application. Refer to your equipment’s manual or the part numbers on the old bearings. Mismatched bearings will not function correctly and could cause further damage.
- Seal Integrity: Inspect the seals on the new bearings. Ensure they are intact and properly seated. Damaged or loose seals will allow contaminants to enter the bearing, significantly reducing its lifespan.
Cleaning and Lubrication Considerations
- Cleaning the Tub: If the sealed tub requires cleaning beyond simple wiping, use a degreaser or solvent appropriate for the material. Ensure all cleaning agents are thoroughly removed before proceeding. Residual solvents can react with lubricants.
- Bearing Lubrication (Pre-Pressing): Some bearings come pre-lubricated from the manufacturer. If they are, avoid adding additional grease before pressing them in unless specifically instructed to do so by the bearing manufacturer. If the bearings are not pre-lubricated and require grease for initial operation, apply a small, consistent amount. Over-greasing can lead to heat build-up. Use the type of grease recommended for the application.
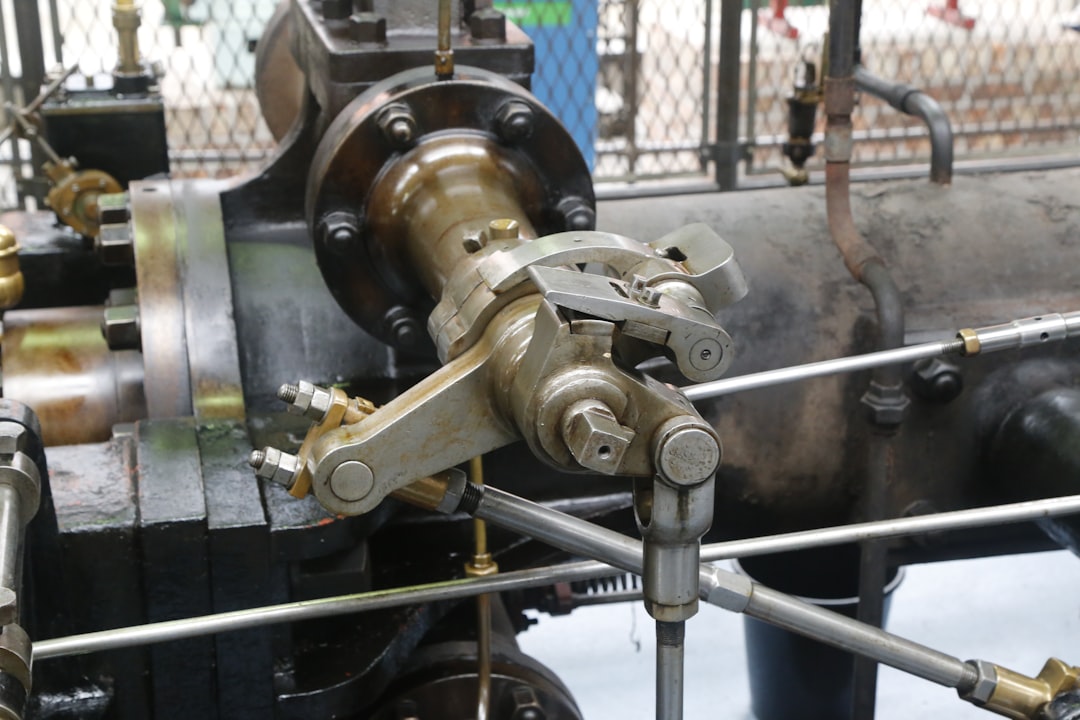
Setting Up the Pressing Equipment
Properly setting up your pressing equipment is paramount for exerting controlled force and ensuring the bearings are seated correctly and without damage. This section details the various aspects of this setup.
Choosing Your Pressing Method
- Mechanical Press: For larger or more demanding applications, a mechanical press offers precise control over the applied force. These can range from arbor presses to larger hydraulic or pneumatic presses. The choice depends on the size and force required for your specific tub.
- Bench Vice with Adapters: A robust bench vice can be utilized for smaller bearings and tubs. This requires careful use of appropriate adapters to apply force evenly and prevent damage to the bearing or tub.
- Bearing Press Tool Kits: Dedicated bearing press tool kits are available and are often the safest and most effective option for DIYers. These kits typically include a range of adapters designed for specific bearing sizes and tasks.
Selecting and Using Press Adapters
- Importance of Correct Adapters: Using the wrong size or type of adapter is a common cause of bearing and housing damage. Adapters should be slightly smaller than the bearing’s outer race (for pressing the outer race into the housing) and slightly larger than the bearing’s inner race (for pressing the inner race onto a shaft, though this is less common for sealed tub applications).
- Material and Machining: Ensure your adapters are made of a hard, durable material like steel and are well-machined to create a flat, smooth surface for force application. Any imperfections on the adapter can be transferred to the bearing.
- Application of Force: Adapters are designed to apply force to specific surfaces. When pressing a bearing into a sealed tub, the force should be applied to the outer race of the bearing, never to the cage or rolling elements. This ensures even pressure distribution and prevents internal damage to the bearing.
Stabilizing the Tub and Bearing
- Secure Mounting: The sealed tub must be securely held in place during the pressing operation. If using a vice, ensure it has a firm grip. For a press, consider using fixtures or clamps to prevent movement.
- Support for the Tub: Depending on the tub’s design, it might be necessary to support the opposite side of the housing to prevent it from flexing or distorting under pressure. This can be achieved with blocks of wood or specialized support jigs.
- Bearing Alignment: The bearing must be perfectly aligned with the housing before and during the start of the pressing operation. Any misalignment at the initial stages can lead to a crooked installation, binding, or damage to both the bearing and the tub.
The Pressing Procedure
This is the core of the operation where controlled force is applied to seat the new bearings. Precision and patience are key to a successful outcome.
Initial Alignment and Gentle Start
- Positioning: Carefully position the new bearing onto the housing. Visually confirm it is centered and square to the opening.
- Applying Initial Force: Begin applying pressure very slowly and gently. You want to feel the bearing just start to engage with the housing. This is where even slight pressure begins to create the interference fit.
- Monitoring for Straightness: As you apply the initial pressure, constantly monitor the bearing to ensure it is entering the housing perfectly straight. If you notice any tilting or cocking, stop immediately, back off the pressure, and re-align the bearing.
Controlled Force Application
- Steady and Incremental Pressure: Once the bearing is engaged, increase the pressure gradually and steadily. Avoid sudden jerks or spikes in force. A consistent, controlled application of force is crucial.
- Listening for Changes: Pay attention to the sounds the press is making. You might hear slight creaks or groans as the bearing seats. However, any sudden grinding, crunching, or scraping sounds are indicators of a problem and you should stop immediately.
- Feeling for Resistance: As the bearing progresses, you will feel increasing resistance. This is normal. The goal is to overcome this resistance smoothly until the bearing is fully seated.
Seating Depth and Verification
- Visual Markers: Many bearings have a chamfered edge. The goal is to press the bearing until its chamfered edge is flush with the housing’s shoulder or a designated seating point. Some housings might have a distinct stop point.
- Using Measurement: If precise seating depth is critical, use a caliper to measure the distance the bearing has entered the housing and compare it to the specifications. Alternatively, measure the distance from the edge of the housing to the bearing’s outer race on the side that remains exposed.
- Confirmation of Full Seating: The bearing is fully seated when it stops moving further into the housing. You should no longer feel any significant resistance to the applied pressure, and the bearing should be sitting flush or at the intended depth. Ensure there is no gap between the bearing’s outer race and the housing.
When it comes to maintaining your sealed tub, knowing how to press new bearings into place is essential for ensuring smooth operation. For a detailed guide on this process, you can refer to a helpful article that covers the necessary tools and techniques. Understanding these steps can greatly enhance your DIY skills and prolong the life of your tub. If you’re interested in learning more, check out this informative resource here.
Post-Pressing Procedures and Checks
| Step | Tool/Material | Procedure |
|---|---|---|
| 1 | Bearing press tool | Place the sealed tub on a flat surface |
| 2 | New bearings | Align the bearing press tool with the bearing and the tub |
| 3 | Grease | Apply a small amount of grease to the bearing before pressing |
| 4 | Bearing press tool | Slowly and evenly press the new bearing into the sealed tub |
| 5 | N/A | Check that the bearing is fully seated and rotates smoothly |
After the bearings have been pressed into place, performing a series of checks and follow-up procedures ensures the installation was successful and the components are ready for use.
Checking for Proper Seating
- Visual Inspection: Again, visually inspect the seated bearings. They should be perfectly flush with the housing, with no visible gaps or unevenness. The outer race of the bearing should be firmly against the internal shoulder of the housing.
- Tactile Check: Gently try to move the bearing by hand. There should be absolutely no play or rocking motion. The bearing should feel firmly secured within the housing.
- Spin Test: If the assembly allows, and if the bearings are not yet part of a functional unit, rotate the inner race of the bearing. It should spin freely and smoothly without any roughness or grinding. This confirms no damage occurred during the pressing process.
Cleaning and Reassembly Preparations
- Wipe Down: Remove any excess lubricant or debris that may have accumulated around the bearing and housing during the pressing process. Use a clean, lint-free cloth.
- Inspect Surrounding Areas: Briefly inspect the area around the newly pressed bearing for any signs of damage to the tub itself that may have occurred, such as cracks or deformations.
- Lubrication (if applicable): If the bearing requires additional lubrication for its intended use and this was not done prior to pressing, now is the time to apply it. Again, use the correct type and amount of lubricant recommended for the application.
Final Assembly Considerations
- Component Alignment: When reassembling the entire unit that contains the sealed tub, pay close attention to the alignment of all components. Misalignment during reassembly can put undue stress on the new bearings.
- Torque Specifications: If your reassembly involves fasteners, ensure you adhere to any specified torque settings. Overtightening or undertightening can lead to premature failure.
- Initial Operation Test: After complete reassembly, it’s advisable to perform an initial operational test of the equipment at low speed or load, if feasible. Listen for unusual noises or vibrations. This can help identify any subtle issues before they become significant problems.
By following these steps methodically, you can successfully press new bearings into a sealed tub, restoring functionality and prolonging the life of your equipment. Remember that patience and attention to detail are your most valuable tools throughout this process.
FAQs
1. What tools are needed to press new bearings into a sealed tub?
To press new bearings into a sealed tub, you will need a bearing press tool, a hammer, a socket or piece of pipe that matches the outer diameter of the bearing, and a vise or press.
2. What are the steps to press new bearings into a sealed tub?
First, remove the old bearings from the tub using a bearing puller or press. Then, clean the area where the new bearings will be installed. Place the new bearing into the tub and use the bearing press tool to press it in. Use a socket or piece of pipe to evenly distribute the force while pressing the bearing in.
3. Are there any precautions to take when pressing new bearings into a sealed tub?
It is important to make sure that the new bearings are pressed in straight and evenly to avoid damaging the bearing or the tub. Additionally, ensure that the bearing is fully seated in the tub and that there are no gaps or misalignments.
4. Can I use a vise instead of a bearing press tool to press new bearings into a sealed tub?
Yes, a vise can be used to press new bearings into a sealed tub. However, it is important to use soft jaws on the vise to avoid damaging the bearing or the tub. Additionally, use a socket or piece of pipe to evenly distribute the force while pressing the bearing in.
5. Are there any special considerations for pressing new bearings into a sealed tub with a rubber seal?
When pressing new bearings into a sealed tub with a rubber seal, take care to avoid damaging the seal during the installation process. Use a bearing press tool or vise with soft jaws to apply even pressure and ensure that the seal remains intact.