Replacing a damaged smartphone screen is a necessary evil for many device owners. When that crucial pane of glass, your window to the digital world, succumbs to a clumsy drop or an unexpected impact, the desire for a quick and effective repair becomes paramount. The process of selecting and pairing the correct replacement parts is the bedrock upon which a successful, seamless repair stands. It’s not simply about acquiring a new screen; it’s about understanding the intricate relationship between various components to ensure your device breathes life back into its display, looking and functioning as if it never suffered its digital wound.
Your smartphone, at its core, is a symphony of precisely engineered parts. The screen, or display assembly, is the conductor of this orchestra, translating the electronic signals into the visual harmony you interact with. When this conductor falters, the entire performance is disrupted. This guide will walk you through the critical aspects of parts pairing, transforming you from a concerned user into a knowledgeable technician, capable of making informed decisions for a truly seamless screen repair.
The first and most crucial step in any successful smartphone repair, particularly screen replacement, is absolute certainty regarding your device’s exact model. This isn’t a suggestion; it’s a non-negotiable requirement. Think of your smartphone as a unique individual with its own genetic code. Each model, even within the same brand and series, possesses subtle but significant variations in its internal architecture, connector types, and physical dimensions. Attempting to repair one model with parts meant for another is akin to trying to transplant a human heart into a dog – the biological incompatibility will lead to immediate and catastrophic failure.
The Perils of Ignorance: Why Generic Parts Are a Gambler’s Gamble
In the vast marketplace of replacement parts, you’ll inevitably encounter listings that are vague or claim compatibility with a wide range of models. Heed this as a stark warning. These are often the digital equivalent of snake oil, promising a cure-all while delivering a guaranteed ailment. Generic parts, if they even fit physically, are likely to have substandard display quality, faulty touch sensitivity, or incompatible internal connectors. This can result in a “patched-up” device that is visually passable but functionally crippled, a constant reminder of a failed repair.
The Unseen Differences: Beyond the Surface Appearance
While two screens might look visually identical at first glance, the devil truly resides in the details. The underlying technology – be it LCD or OLED – can differ significantly. More importantly, the flex cables that connect the screen to the motherboard are masterfully crafted and precisely engineered. These cables are not interchangeable. A slight variation in the pin count, seating mechanism, or length can render the new screen completely inoperable or cause intermittent issues. The delicate dance of electricity needs a perfectly choreographed connection, and the wrong flex cable is a discordant note that silences the entire performance.
Decoding Your Device’s Identity: Locating the Model Number
Before you even begin browsing for parts, you need to be armed with your device’s precise model number. This is your key to unlocking the correct inventory of compatible components. Fortunately, manufacturers embed this information in several accessible locations.
The Digital Fingerprint: Device Settings
The most reliable and direct method is within your device’s operating system. Navigate to your device’s settings menu. Typically, you’ll find this information under “About phone,” “About device,” or a similar submenu. Here, you’ll see the model name and, crucially, the model number. This is your golden ticket to ordering the correct parts.
The Physical Blueprint: Device Casing and Packaging
If your device is too damaged to boot, or you’ve misplaced the original packaging, don’t despair. The model number is often printed directly on the device itself. Look on the back of your phone, often in small print near the charging port or under a removable battery cover (if applicable). The original retail box, if you still possess it, is also a treasure trove of this information, usually displayed prominently on a sticker.
If you’re considering a smartphone screen replacement, it’s essential to understand the importance of parts pairing to ensure optimal performance and longevity of your device. A related article that delves deeper into this topic can be found at this link. It provides valuable insights on how mismatched components can affect your phone’s functionality and offers tips on selecting the right parts for a successful repair.
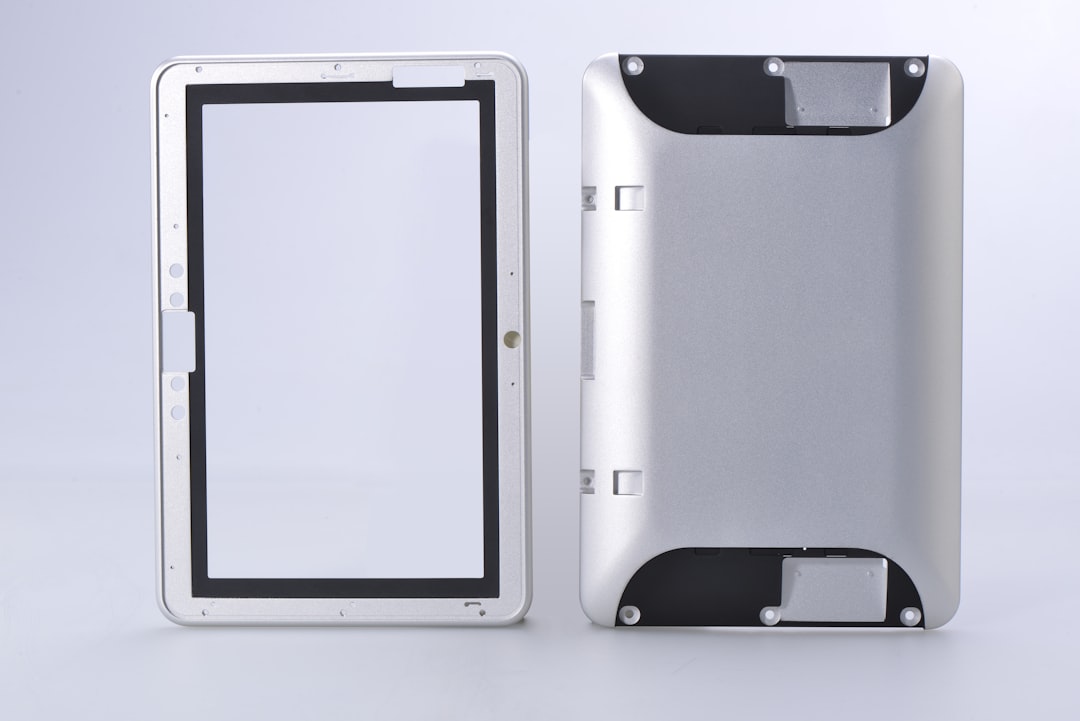
The Display Assembly: More Than Just a Pane of Glass
The term “screen replacement” often conjures the image of simply swapping out a shattered piece of glass. However, in modern smartphones, the “screen” is usually a modular unit known as the display assembly. This assembly typically comprises several integrated components, and understanding their interplay is vital for a successful repair.
The Visual Engine: The Display Panel Itself
This is the component that generates the images you see. It can be either an LCD (Liquid Crystal Display) or an OLED (Organic Light-Emitting Diode) panel. Each technology has its own characteristics regarding brightness, color reproduction, contrast, and power consumption. Replacing an LCD with an OLED, or vice versa, is generally not possible without significant and complex modifications to the device’s internal electronics, making it unfeasible for a standard repair.
OLED vs. LCD: A Tale of Two Technologies
OLED displays offer superior contrast ratios, perfectly black blacks, and vibrant colors due to their self-emissive pixels. They also tend to be more power-efficient when displaying dark content. LCDs, on the other hand, require a backlight, which can lead to less perfect blacks and a slightly more uniform brightness across the panel. Knowing which technology your device originally uses is paramount. A mismatched replacement will result in either a non-functional screen or a significantly degraded visual experience.
The Touchstone: The Digitizer Layer
The digitizer is a transparent layer that sits beneath the glass and above or integrated within the display panel. Its sole purpose is to translate your physical touch into digital signals, allowing you to interact with your device. In many modern smartphones, the digitizer is fused with the display panel and glass, forming a single, integrated unit known as the “display assembly” or “screen assembly.” However, in some older or budget models, the digitizer might be a separate component.
The Illusion of Separation: Integrated vs. Separate Digitizers
When the digitizer is integrated into the display assembly, you must replace the entire unit. If it’s a separate component, you might theoretically be able to replace just the digitizer if only touch functionality is impaired. However, the delicate nature of separating and resealing these layers makes this an advanced repair often best left to experienced professionals. For most DIY repairs, you’ll be replacing the entire display assembly.
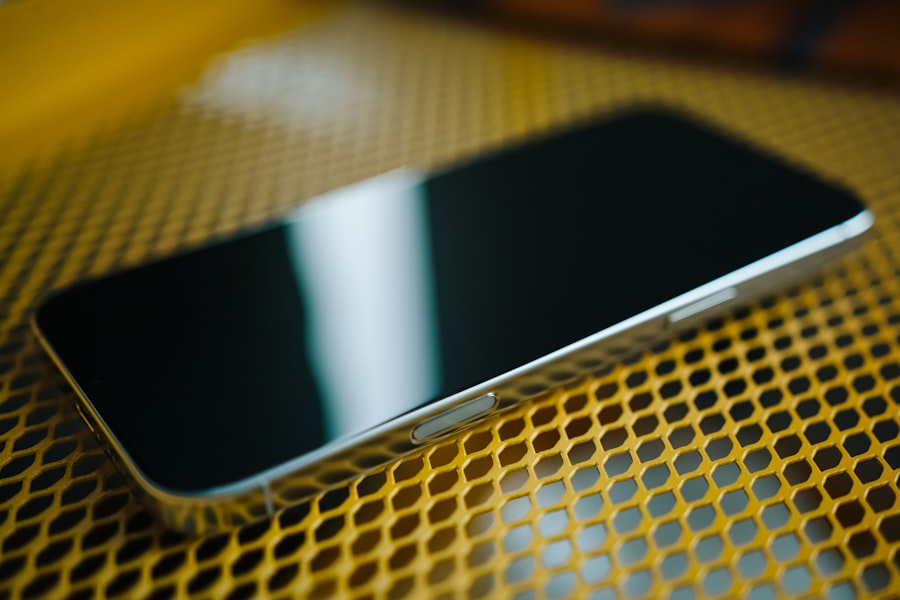
The Protective Shield: The Outer Glass
The outermost layer, the glass, is what you directly interact with and what initially bears the brunt of impacts. While it’s a critical protective component, its primary role is to guard the underlying display and digitizer. When replacing a screen assembly, the new glass will always be pre-attached to the replacement display and digitizer. Attempting to separate and reattach the glass from a new display is generally not practical or advisable for DIY repairs.
The Fusion of Components: The Sealed Unit
Modern manufacturing processes often fuse the glass, digitizer, and display panel into a single, sealed unit. This improves durability and simplifies assembly for the manufacturer. For you, the repairer, this means that when you order a replacement “screen,” you are almost always ordering this integrated display assembly. The quality of the adhesive used to seal these layers is crucial for the longevity and performance of the repaired device.
Sourcing the Right Parts: Navigating the Supply Chain with Vigilance
The digital marketplace is a labyrinth of options when it comes to smartphone replacement parts. While the allure of low prices can be tempting, it’s crucial to approach sourcing with a discerning eye. The origin and quality of your parts will directly dictate the success of your repair.
The Authenticity Question: OEM vs. Aftermarket
This is a fundamental distinction in the replacement parts industry.
Original Equipment Manufacturer (OEM) Parts: The Gold Standard
OEM parts are those that were originally manufactured by or for the device manufacturer. These are typically of the highest quality, engineered to meet the exact specifications of your device. They offer the greatest assurance of compatibility, performance, and longevity. However, OEM parts can be significantly more expensive and harder to obtain for consumers.
Aftermarket Parts: A Spectrum of Quality
Aftermarket parts are manufactured by third-party companies. This category encompasses a vast spectrum of quality, from near-OEM standards to decidedly inferior components. Some reputable aftermarket manufacturers produce excellent parts that are virtually indistinguishable from OEM. Others churn out cheap imitations with compromises in materials, performance, and durability.
The OEM Seal of Approval: Identifying Genuine Components
Authentic OEM parts will often bear the manufacturer’s branding or part numbers. They will also feel substantial and well-constructed. If you are purchasing from a third-party reseller, inquire about the origin of the parts. Reputable sellers will be transparent about whether they are offering OEM or high-quality aftermarket options. Avoid sellers who offer no information or vague assurances.
The OEM “Certified” Myth: Be Wary of Misleading Labels
Be cautious of terms like “OEM compatible” or “OEM certified” when the parts are clearly not from the original manufacturer. These are often marketing tactics to capitalize on the perceived quality of OEM parts. Always research the specific brand of the aftermarket part if it’s not explicitly stated as OEM.
The Role of the Vendor: Trustworthy Suppliers as Your Allies
The vendor from whom you purchase your replacement screen is as important as the part itself. A reputable vendor acts as a gatekeeper, ensuring that the parts they sell meet a certain standard.
Vendor Reputation: The Crowd-Sourced Wisdom
Before committing to a purchase, invest time in researching potential vendors. Look for online reviews, testimonials, and forum discussions related to their products and customer service. A vendor with a history of positive feedback, fair return policies, and helpful support is a strong indicator of trustworthiness.
Return Policies and Warranties: Your Safety Net
Accidents can happen, even with careful selection. A vendor with a clear and fair return policy for defective parts is essential. Furthermore, some vendors offer warranties on their replacement screens. While a warranty doesn’t prevent damage, it provides recourse if the part fails prematurely due to a manufacturing defect. It’s the safety net that catches you if the parachute fails to deploy.
Beyond the Screen: Essential Complementary Parts for a Full Recovery
While the display assembly is the star of the show, a truly seamless repair requires attending to other components that are often part of or integral to the replacement process. Neglecting these supporting actors can lead to a diminished performance or even a failed repair.
The Adhesive Seal: The Unsung Hero of Water Resistance
Modern smartphones are increasingly designed with a degree of water and dust resistance. This is achieved through precise sealing mechanisms, often involving specialized adhesive strips. When you remove the old screen, this seal is invariably broken.
Pre-Cut Adhesive Strips: The Precision Fit
For a proper repair that restores some level of ingress protection, you’ll need to replace the original adhesive. Many reputable screen replacement kits include pre-cut adhesive strips specifically designed for your device model. These are crucial for achieving a tight seal between the frame and the new display assembly.
The Art of Adhesion: Ensuring a Watertight Bond
Applying these adhesives correctly is vital. Ensure the device frame is clean and free of old adhesive residue. Carefully align the new adhesive strips according to the manufacturer’s instructions. Proper adhesion is not just about preventing water and dust ingress; it also helps to secure the display assembly, preventing it from shifting or coming loose over time.
The Battery: A Potential Partner in Crime (or Recovery)
In many smartphones, the battery is located directly beneath the display assembly, or its flex cable is routed in close proximity. During the screen replacement process, you will inevitably need to disconnect and potentially remove the battery.
Battery Health: A Pre-emptive Strike
This is an opportune moment to assess the health of your device’s battery. If your battery has been showing signs of degradation – reduced runtime, spontaneous shutoffs, or swelling – now is the ideal time to replace it. A new screen paired with a worn-out battery will leave your device feeling less than fully rejuvenated.
Flex Cable Integrity: The Delicate Arteries
The battery’s flex cable is a thin, fragile component. During screen removal and replacement, it’s essential to handle it with extreme care. Any damage to this cable can render the battery inoperable or cause intermittent power issues. Inspect the flex cable for any signs of tearing or damage before reassembling.
The Small But Mighty: Ancillary Components
Several smaller, often overlooked components play a role in the display’s functionality and the overall integrity of the device.
Proximity Sensors and Earpiece Speaker Grilles: The Subtle Details
The proximity sensor, which disables the touch screen when you bring the phone to your ear during a call, is often integrated into the top bezel of the display assembly. Similarly, the earpiece speaker grille is also located in this area. When purchasing a replacement screen, ensure it comes with these components pre-installed or that they can be easily transferred from the old screen. Missing or improperly installed proximity sensors can lead to unwanted screen activations during calls, while a blocked earpiece grille will significantly impair audio quality.
Camera Modules: Preserving the Vision
The front-facing camera module is typically situated near the top of the display assembly. Like other integrated components, it’s crucial that the replacement screen either has this module pre-installed or that you can safely transfer your original module. Damage to the camera during the repair process will result in a loss of functionality for this essential feature.
When considering a smartphone screen replacement, it’s essential to ensure that the parts are compatible to avoid any functionality issues. A helpful resource on this topic can be found in an article that discusses the importance of parts pairing for successful repairs. You can read more about it in this informative piece on smartphone maintenance. For further insights, check out this article that delves into the nuances of screen replacements and the significance of using the right components.
The Art of Pairing and Installation: A Symphony of Precision
| Metric | Description | Typical Value | Notes |
|---|---|---|---|
| Screen Replacement Success Rate | Percentage of successful screen replacements with proper parts pairing | 95% | Depends on technician skill and quality of parts |
| Parts Compatibility Rate | Rate at which replacement parts are compatible with the original device | 90% | Higher for OEM parts, lower for third-party parts |
| Screen Pairing Time | Average time required to pair the new screen with the device firmware | 10-15 minutes | Varies by device model and software tools used |
| Failure Rate Due to Improper Pairing | Percentage of replacements that fail because the screen was not paired correctly | 5% | Can cause touch or display issues |
| Cost Impact of Parts Pairing | Additional cost incurred for pairing services or software tools | Low to Moderate | Depends on repair shop and device complexity |
| Warranty Void Rate | Percentage of devices whose warranty is voided due to improper screen replacement or pairing | 3% | OEM repairs usually maintain warranty |
Once you have sourced the correct display assembly and any necessary complementary parts, the actual process of pairing them with your device and installing them requires a methodical and precise approach. This is where the meticulous planning translates into a tangible outcome.
Pre-Installation Testing: A Dry Run for Success
Before you commit to permanent installation with adhesives, it’s crucial to perform a “dry run” or pre-installation test. This involves connecting the new display assembly to your device’s motherboard without fully securing it.
Simulating the Connection: Ensuring Full Functionality
Carefully connect the flex cables of the new display assembly to their corresponding ports on the logic board. Power on your device and verify that the display illuminates correctly, that the touch screen registers all your inputs accurately across the entire surface, and that all other integrated components (as mentioned above) are functioning as expected. This is your chance to catch any incompatible parts or latent defects before you’ve permanently sealed your device.
The Ghost in the Machine: Identifying Early Glitches
If the screen doesn’t power on, or if there are dead spots on the touch screen, or if colors appear distorted, it’s a clear indication that the parts are not pairing correctly. This might be due to an incorrect model, a faulty part, or a damaged flex cable connection. This initial testing phase is a vital diagnostic tool, preventing you from realizing a problem only after the repair is irreversibly completed.
The Delicate Dance of Flex Cables: Navigating the Electronic Pathways
Flex cables are the unsung heroes of smartphone connectivity, carrying vital electronic signals between different components. They are inherently delicate and require careful handling.
Stress and Strain: The Enemies of Flex Cables
Avoid bending, creasing, or twisting flex cables excessively. When connecting or disconnecting them, use prying tools designed for electronics, such as plastic spudgers, and never apply excessive force. The connectors on the motherboard are small and can be easily damaged by rough handling, leading to connectivity issues that can be difficult and expensive to repair.
Proper Seating: The Click of Connection
Ensure that each flex cable is seated firmly and correctly in its connector. You should feel a slight “click” when it’s properly engaged. A loose connection is as detrimental as a damaged cable, leading to intermittent or non-existent functionality.
Adhesive Application: The Seal of Integrity
As mentioned earlier, the adhesive plays a critical role in the structural integrity and, in many cases, the water resistance of your device.
Cleanliness is Paramount: A Foundation for Bonding
Ensure the surfaces where the adhesive will be applied – typically the phone’s frame – are meticulously clean. Remove all traces of old adhesive, dust, and debris. Any contaminants will prevent the new adhesive from forming a strong, reliable bond.
Precise Alignment: The Blueprint for Sealing
Carefully align the pre-cut adhesive strips according to the manufacturer’s instructions or the outlines on the device frame. Improper alignment can lead to gaps, compromising the seal and potentially allowing dust or moisture to enter the device. Once applied, press firmly to ensure good adhesion.
Post-Repair Verification: Ensuring a Flawless Homecoming
The repair is complete, the new screen is installed, and the device is reassembled. However, the job isn’t finished until you’ve thoroughly verified that the repair has been a complete success. This final stage of verification is your guarantee of a seamless transition back to a fully functional smartphone.
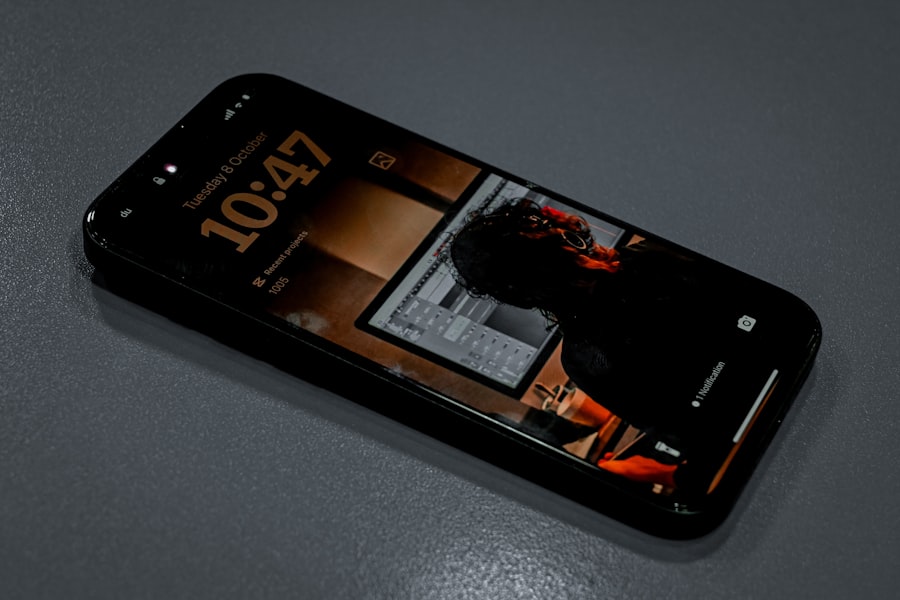
Functionality Deep Dive: Every Pixel, Every Touch
Go beyond a cursory check. Cycle through all the functions of your new display.
Display Quality Assessment: Vibrant and True
Examine the display for any dead pixels, discoloration, or uneven backlighting. Pay attention to the brightness levels and color accuracy. Compare it to how the display should look.
Touch Responsiveness and Accuracy: The Digital Touch
Test touch input in all areas of the screen. Swipe, pinch to zoom, and type with words that use all letter keys. Ensure there are no ghost touches or unresponsibly areas. Play a simple game that requires precise touch input to fully test its sensitivity.
Ancillary Component Testing: The Supporting Cast in Action
Re-test all the components that were integrated into or around the display assembly.
Camera and Sensor Checks: Preserving the Senses
Test the front-facing camera for clarity and focus. Verify that the proximity sensor correctly disables the screen when you hold the phone to your ear during a call. Check if the ambient light sensor adjusts screen brightness appropriately.
Speaker and Microphone Functionality: The Voice and Ears
If the earpiece speaker was involved in the replacement process, test its audio output for clarity and volume. Ensure the front microphone, often located near the earpiece, is functioning correctly for calls and voice recordings.
Long-Term Observation: The True Test of Time
While immediate functionality is important, the true measure of a seamless repair lies in its long-term stability.
Monitoring for Degradation: Vigilance After the Fact
For the first few days and weeks after the repair, keep an eye on the device. Look for any subtle issues that may not have been apparent during initial testing. This could include intermittent touch screen problems, display flickering, or battery drain that seems unusual.
Seeking Professional Assistance: Knowing When to Call in the Cavalry
If you encounter persistent issues despite your best efforts, do not hesitate to seek professional assistance. Sometimes, even with the best intentions and the right parts, a complex internal issue may require the expertise of a seasoned repair technician. Acknowledging this is part of a successful repair journey.
Replacing a smartphone screen is a task that can be approached with confidence and success through careful planning, informed part selection, and meticulous execution. By understanding the intricate relationship between your device’s components and the critical importance of parts pairing, you empower yourself to breathe new life into your smartphone, ensuring it performs with the seamless grace it was designed for. Your smartphone’s screen is your portal to the digital universe; treat its repair with the respect and precision it deserves, and it will reward you with a window unclouded and a connection uninterrupted.
FAQs
What is smartphone screen replacement with parts pairing?
Smartphone screen replacement with parts pairing involves not only replacing the damaged screen but also pairing the new screen’s components with the phone’s motherboard. This process ensures full functionality, such as touch sensitivity and display features, especially on devices with advanced security measures.
Why is parts pairing necessary during a smartphone screen replacement?
Parts pairing is necessary because many modern smartphones have security protocols that link certain components, like the screen, to the device’s motherboard. Without proper pairing, features like touch response, Face ID, or True Tone display may not work correctly after replacement.
Can I replace my smartphone screen without parts pairing?
While it is possible to physically replace the screen without parts pairing, doing so may result in reduced functionality or errors. Some phones will display warnings or disable certain features if the new screen is not properly paired with the device.
Do all smartphones require parts pairing when replacing the screen?
Not all smartphones require parts pairing. Older or less secure models may allow screen replacement without pairing. However, many recent models from manufacturers like Apple and Samsung have implemented parts pairing to enhance security and device integrity.
Is parts pairing something I can do myself during a screen replacement?
Parts pairing often requires specialized software and tools that are typically available only to authorized service centers or technicians. Attempting to pair parts without the proper equipment can be challenging and may void warranties or damage the device.